Easy Face Triangle
Creates fake Rembrandt light (triangle face light) by mirroring the surface normal across the character's left/right axis and takes whichever side is more lit.
Settings
- Mask (R) — the red channel controls per-pixel strength. Black = no effect, white = full.
- Strength — how strongly the symmetric flip is applied. The slider caps at 1 but you can type a higher value to over-drive it.
- Fade when Light Below — fades the effect as the light drops below the horizon.
- Fade when Light Above — fades the effect as the light rises above the horizon.
- Follow head bone — see below.
Follow head bone
By default the mirror axis is tied to the model root, so if the head is turned by a bone (mocap, non-root animation) the effect stops matching the face. Turn on Follow head bone to mirror around a per-vertex axis that tracks the head instead.
This requires baking — run the Data Baker and assign the baked mesh to the renderer first.
No follow head: Follow head enabled:
Combine both faders
Combine both faders to confine the effect to near-horizon light.
Making a mask
Just draw the area you want to have Rembrandt light, then blur the edges. (I used Gaussian Blur here.) 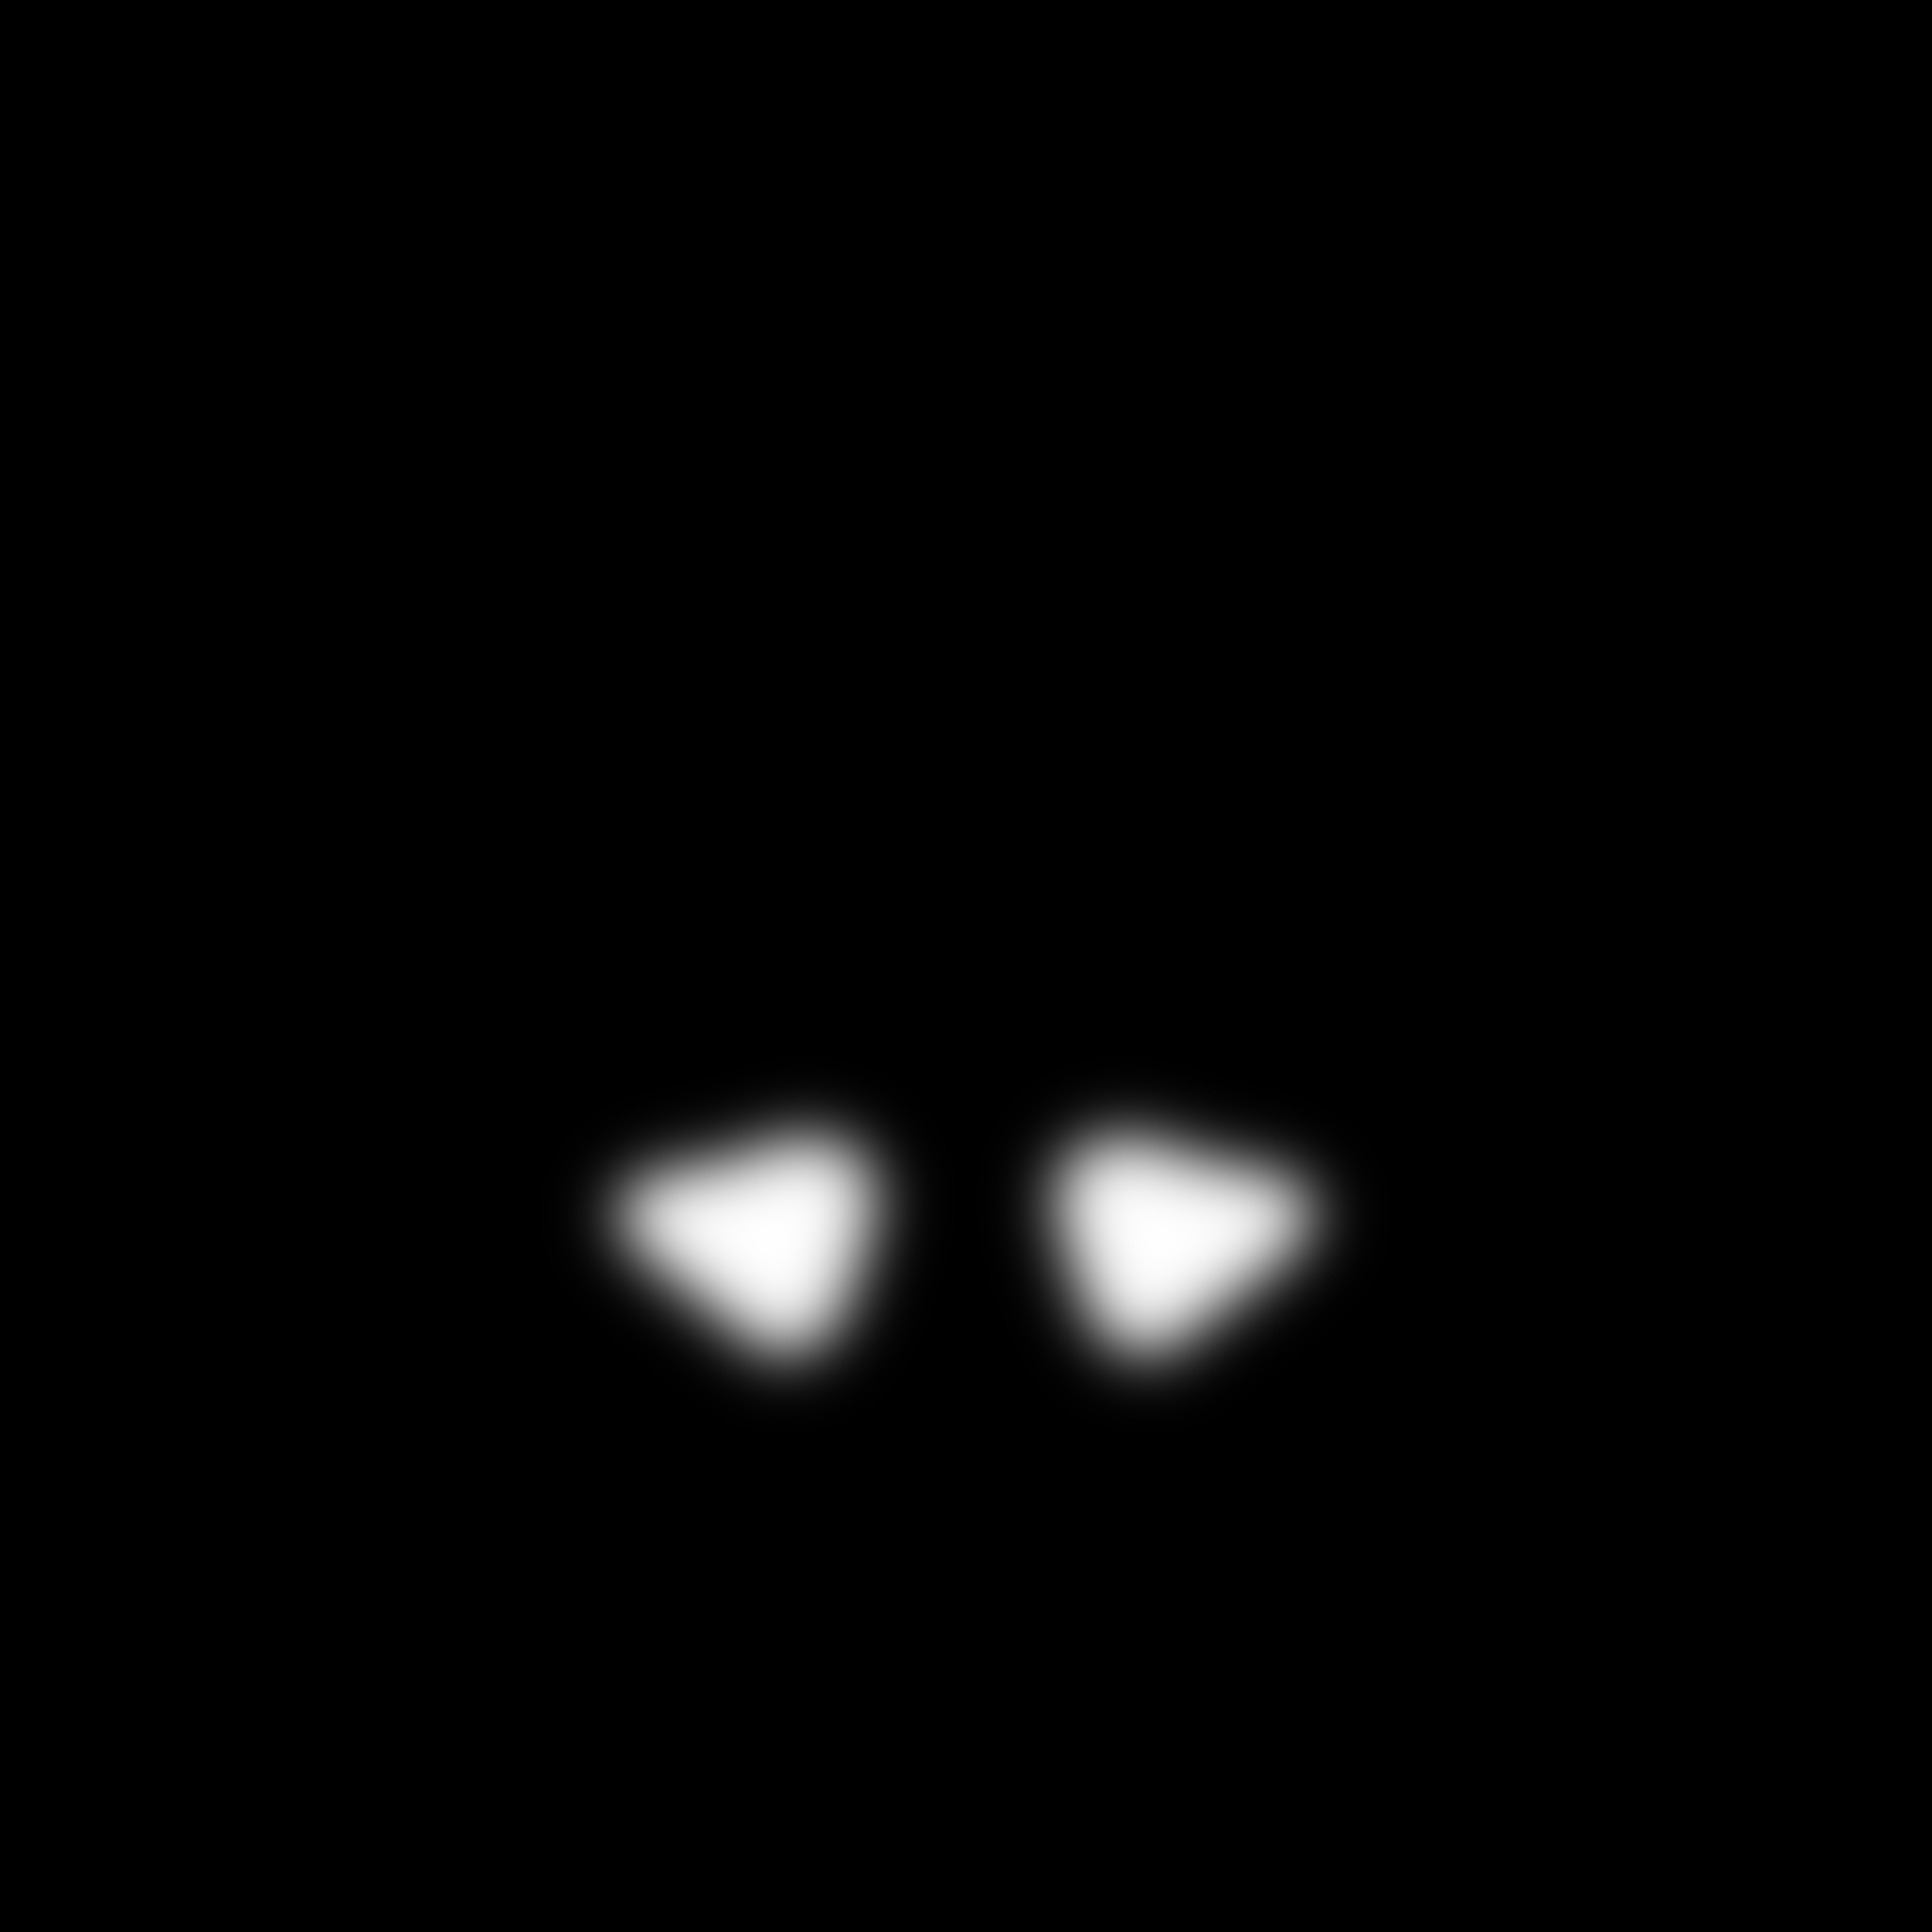
You can do it in any image editing software (Krita, Clip Studio Paint, Procreate etc), or 3D modelling software (Blender texture painting, Substance Painter, etc), or even within Unity.